Blog

  • Refinish an Old Chair: A Beginner’s Furniture Project

    Refinish an Old Chair: A Beginner’s Furniture Project

    Note:
    This is demo content for a WordPress integration. It was generated by AI and not based on a real tutorial or personal experience.

    Refinishing furniture can seem intimidating, but starting with a simple chair is a great way to learn. Whether it’s a thrift store find or something from your attic, a bit of work can transform it into a centerpiece.

    Begin by removing any old fabric or cushions. Sand the wooden surfaces to remove the existing finish and smooth out scratches. Then apply a primer and paint or stain of your choice. If you’re adding a new seat cushion, a staple gun and foam insert are all you need.

    It’s a satisfying weekend project and a great entry point into the world of furniture restoration.

  • Organize Your Tools with a Custom Pegboard Wall

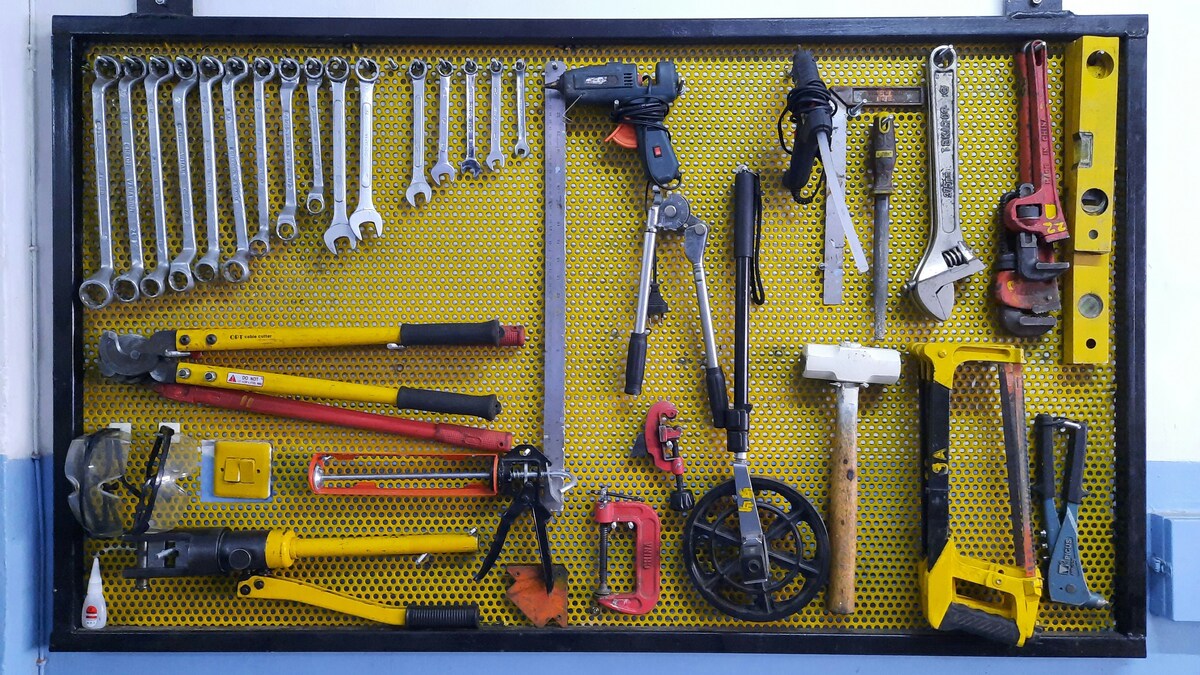
    Organize Your Tools with a Custom Pegboard Wall

    Note:
    This is demo content for a WordPress integration. It was generated by AI and not based on a real tutorial or personal experience.

    Tool clutter is a common issue in home workshops. A pegboard wall is a simple and affordable solution that helps you stay organized while keeping frequently used tools within arm’s reach. It also adds a professional touch to your workspace.

    To start, measure your wall and cut your pegboard to size. Mount furring strips to the wall to create a small gap behind the board—this allows hooks to slide in easily. Secure the pegboard to the strips using screws. Then it’s just a matter of arranging your tools using standard peg hooks, baskets, or holders.

    This project takes just a few hours and can be easily customized as your tool collection grows.

  • Creating a Vertical Garden: Bring Greenery to Small Spaces

    Creating a Vertical Garden: Bring Greenery to Small Spaces

    Note:
    This is demo content for a WordPress integration. It was generated by AI and not based on a real tutorial or personal experience.

    Urban living often comes with limited space, but that doesn’t mean you have to give up on having plants. A vertical garden is a clever way to add greenery to your home, balcony, or even a kitchen wall. It’s especially great for herbs, succulents, and other small plants.

    Start with a wall-mounted rack, a set of hanging pots, or even repurposed wooden pallets. Add planters at various heights, making sure to consider sunlight and water access. Herbs like basil, thyme, and mint are ideal for this kind of setup, as they don’t need deep soil and benefit from frequent trimming.

    With a bit of planning and care, your vertical garden can be both functional and beautiful—a tiny oasis in a small space.

  • Scented Candles: A Cozy Weekend Project

    Scented Candles: A Cozy Weekend Project

    Note:
    This is demo content for a WordPress integration. It was generated by AI and not based on a real tutorial or personal experience.

    There’s something comforting about a candle you made yourself. Not only do you get to choose the scent and shape, but it’s also a relaxing way to spend an afternoon. Whether you want lavender for stress relief or citrus to energize a room, homemade candles give you full control over the experience.

    You’ll need a few basics: soy wax, cotton wicks, essential oils, and heatproof containers. Gently melt the wax in a double boiler, stir in your chosen fragrance, and pour it into the container with the wick centered. Let the candles cure for at least 24 hours before lighting.

    This DIY is perfect for gifts, decor, or just a self-care boost. And once you’ve done it once, you’ll likely find yourself experimenting with shapes, colors, and scents.

  • How to Build a Simple Wooden Bookshelf for Your Home Office

    How to Build a Simple Wooden Bookshelf for Your Home Office

    Note:
    This is demo content for a WordPress integration. It was generated by AI and not based on a real tutorial or personal experience.

    Whether you’re setting up a new home office or just looking to reduce clutter, building your own wooden bookshelf can be both practical and satisfying. With just a few tools—a drill, some screws, and a saw—you can create a sturdy and attractive piece that suits your space and style.

    Start by selecting your wood. Pine is a great option for beginners: affordable, easy to work with, and readily available. Cut your shelves to size, then sand down all surfaces for a smooth finish. Pre-drill your holes before assembling to prevent the wood from splitting. Once everything is screwed together, apply your choice of finish—natural oil, paint, or a simple clear coat.

    This is a beginner-friendly project that can be completed in a weekend. It’s a great way to add a personal touch to your workspace without spending a fortune.